Quick Description
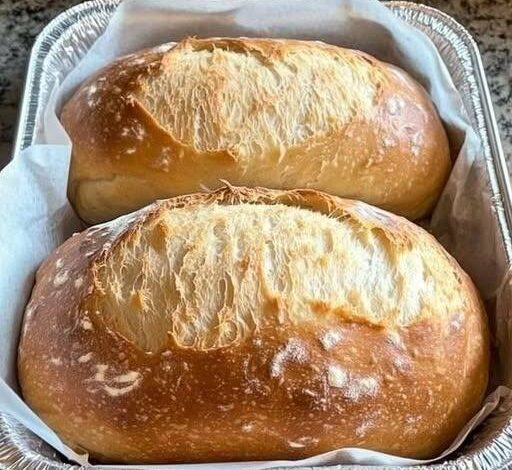
This Mastered Crunchy Sourdough is slightly enriched with egg and olive oil, giving it a softer crumb while still delivering that beautifully crisp crust. Baked in loaf pans with a covered steam method, it creates a perfect mini Dutch oven effect at home. The result is a deeply golden, crunchy exterior with a tender and flavorful inside. You can leave out the egg and oil for a firmer, more traditional sourdough texture.
Servings & Timing
Yield: 2 loaves
Prep Time (active): ~1.5 hours total (spread out)
Bulk Fermentation: 4–6 hours
Bake Time: 45 minutes
Total Time: ~6–8 hours
Hydration: Approximately 75%
Ingredients List
300 g active sourdough starter
530 g water
20 g olive oil
1 large egg
820 g flour (bread flour recommended)
22 g fine sea salt
Extra 10 g warm water (for dissolving salt)
Optional Adjustment:
If omitting egg and oil, increase water by 30 g.
Instructions
Step 1: Mix the Dough
In a large mixing bowl, combine:
- 300 g active starter
- 530 g water
- 1 egg
- 20 g olive oil
Whisk gently until combined.
Add 820 g flour and mix until no dry flour remains. The dough will be shaggy and slightly sticky.
Cover and let rest for 30 minutes.
Step 2: Add the Salt
After the initial 30-minute rest, dimple 22 g salt into the dough.
Drizzle 10 g warm water over the top to help dissolve the salt.
Fold and pinch the dough gently until salt is fully incorporated.
Let rest another 30 minutes before starting stretch and folds.
Step 3: Stretch and Folds (Bulk Fermentation)
Over the next 4–6 hours, perform stretch and folds every 30 minutes for the first 2–3 hours.
To perform:
- Grab one side of dough
- Stretch upward
- Fold over itself
- Rotate bowl and repeat
The dough should gradually become smoother and stronger.
Bulk fermentation is complete when:
- Dough has risen about 40–50%
- Surface appears slightly domed
- Bubbles are visible
- Dough feels airy and elastic
Step 4: Divide & Shape
Turn dough onto a lightly floured surface.
Divide into two equal portions.
Pre-shape into loose rounds and rest for 20 minutes.
Shape tightly into loaf shapes and place into greased loaf pans.
Step 5: Final Rise
Allow loaves to rise until slightly puffy and expanded. Depending on room temperature, this may take 1–2 hours.
Step 6: Bake
Preheat oven to 450°F (230°C).
Place a second loaf pan upside down over each loaf pan to create a steam chamber.
Bake covered for 25 minutes at 450°F
Remove the top pan (lid), reduce temperature to 400°F (205°C), and bake for another 20 minutes until deeply golden and crisp.
Internal temperature should reach approximately 205–210°F.
Step 7: Cool
Remove loaves from pans and cool completely on a wire rack for at least 2–3 hours before slicing.
Additional Notes
- Baking in loaf pans creates consistent shape and structure.
- The egg and olive oil create a slightly softer crumb.
- For a firmer artisan-style loaf, omit egg and oil and increase water slightly.
- Always use an active, bubbly starter.
Dietary Info
Vegetarian
Contains gluten and egg
Dairy-free
Ingredient Details & Substitution Tips
Flour: Bread flour provides best structure.
Egg: Adds softness and slight richness.
Olive Oil: Enhances tenderness and crust color.
Starter: Must be fully active and doubled before use.
Recipe Variations
- Add seeds (sunflower, sesame, flax) for texture.
- Mix in roasted garlic for flavor.
- Sprinkle oats on top before baking.
Storage & Make-Ahead
Store at room temperature in a bread bag for up to 3 days.
Freeze sliced loaves for up to 3 months.
Reheat slices in toaster for best texture.
Nutrition (Per Slice, Approx. 1/12 of a Loaf)
Calories: ~190 kcal
Protein: 6 g
Carbohydrates: 36 g
Fat: 3 g
Fiber: 1.5 g
Sodium: 350 mg
Values are estimates and may vary slightly.